How to Install Ceiling Fans Safely on High Ceilings in Thiensville, WI
Professional Services Heating, AC & Electric Repair
Installing ceiling fans on high ceilings in Thiensville, WI, can seem intimidating, but with the right approach, you can do it safely and efficiently. First, you'll need to assess your ceiling height and select a fan with an appropriate downrod. Once you gather your tools and prepare the area, the real work begins. Understanding how to secure the fan properly and guarantee electrical safety can make all the difference in your installation success.
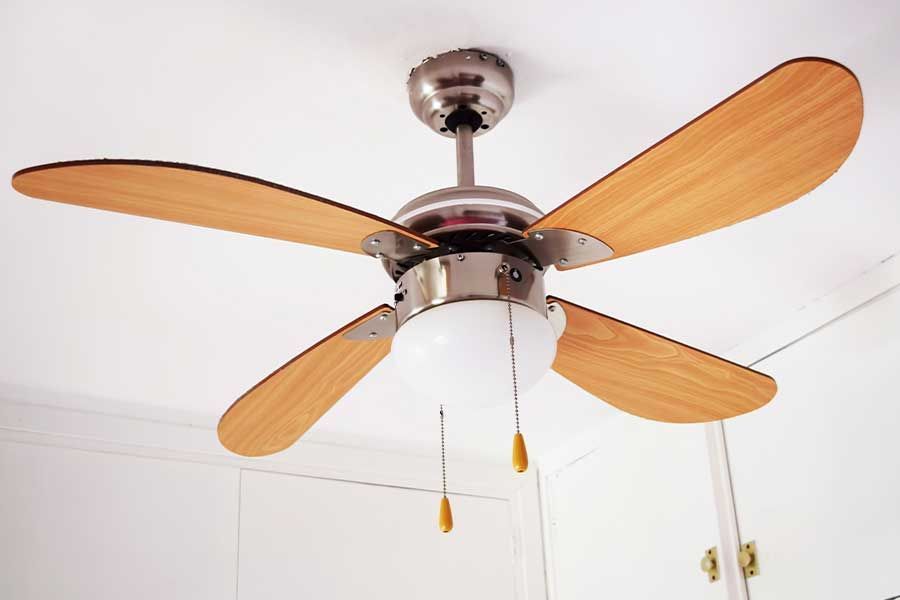
Assessing Your Ceiling Height and Fan Size
How do you know if your ceiling height is right for a ceiling fan? First, measure your ceiling height; ideally, it should be at least 8 feet.
If your room's ceiling is lower, opt for a flush-mount ceiling fan to maximize space. For ceilings above 9 feet, consider a fan with a downrod to guarantee proper airflow and aesthetics. The fan's blade height should be 7 to 9 feet off the floor for ideal air circulation.
Next, think about the size of the fan in relation to your room. A fan with a blade span of 42 to 48 inches works well in smaller rooms, while larger spaces require fans with spans of 52 inches or more. Additionally, professional installation ensures compliance with current building codes and safety standards for your ceiling fan setup.
Gathering the Necessary Tools and Materials
Before you start installing your ceiling fan, gather the necessary tools and materials to guarantee a smooth process.
First, you'll need a sturdy ladder to reach those high ceilings safely. Make sure you have a drill with the appropriate bits, as well as a screwdriver set for assembly. A voltage tester is essential to verify the power is off before you start working with any electrical components.
Next, gather the ceiling fan itself, along with any mounting brackets and hardware that came with it. Don't forget to have wire nuts and electrical tape handy for secure connections.
A stud finder can help locate ceiling joists for proper support. Finally, keep safety goggles and gloves nearby to protect yourself during the installation.
Additionally, consider scheduling Wisconsin electrical inspections to ensure your ceiling fan installation meets safety standards and is free of potential hazards. With these tools and materials in hand, you're well on your way to installing your ceiling fan efficiently and safely.
Preparing the Installation Area
As you prepare the installation area for your ceiling fan, it's crucial to guarantee the space is clear and safe to work in.
Start by removing any furniture or obstacles beneath the ceiling area to make sure you have ample room to maneuver. If necessary, cover the floor with a drop cloth to protect it from dust or debris.
Next, check the existing light fixture or electrical box where the fan will be installed. Make sure it's securely mounted and can support the fan's weight. If it's not, you'll need to reinforce or replace it before proceeding.
Turn off the power to the area at the circuit breaker to prevent any electrical accidents. Use a voltage tester to confirm no electricity is flowing through the wires.
Finally, gather your tools and materials nearby, so you have everything you need within reach as you begin the installation process. Additionally, it is important to conduct regular inspections of your electrical system to ensure everything is in safe working order before installation.
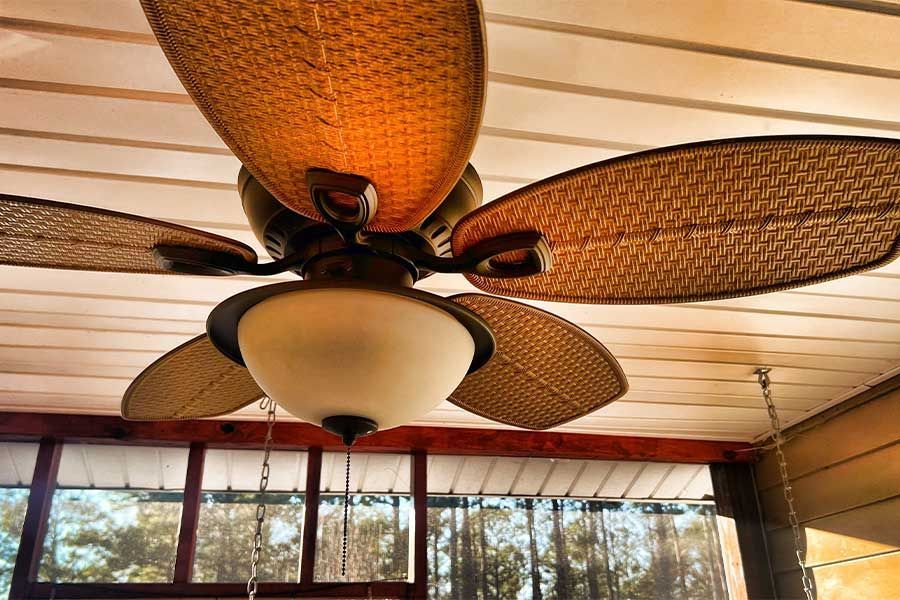
Installing the Ceiling Fan Securely
With the installation area prepared and all safety measures in place, you can now focus on securely mounting the ceiling fan. Start by using a sturdy ceiling fan mounting bracket designed for high ceilings. Confirm it's rated for the weight of your fan.
Next, follow these steps for a secure installation:
- Align the bracket: Position it over the ceiling joist for maximum support.
- Tighten screws: Use a power drill to secure all screws firmly, but avoid over-tightening to prevent damage.
- Check stability: Gently shake the fan base to confirm it's securely attached.
- Use safety cables: If the fan is particularly heavy or in a high-traffic area, consider adding safety cables for extra security.
- Follow manufacturer instructions: Always refer to the specific guidelines provided with your ceiling fan for any additional requirements. Additionally, it's beneficial to consult with local HVAC professionals to ensure proper installation and avoid any potential issues.
Ensuring Proper Electrical Connections and Safety Measures
Guaranteeing proper electrical connections is vital for a safe and effective ceiling fan installation. Start by turning off the power at the circuit breaker to avoid any accidents. Use a voltage tester to confirm that the wires aren't live before you proceed.
Connect the fan's wires to the ceiling's electrical box, matching color-coded wires: black to black, white to white, and green or copper to the ground. Make certain to secure these connections with wire nuts and electrical tape for added safety.
Once connected, tuck the wires neatly into the box before attaching the canopy. It's essential to double-check that all screws and connections are tight.
Finally, turn the power back on and test the fan to verify it operates correctly. If you have any doubts about your electrical skills, don't hesitate to call a professional. Safety should always be your top priority.
Conclusion
Installing a ceiling fan on high ceilings in Thiensville, WI, might seem intimidating, but with the right approach, you'll find it's manageable and rewarding. By taking the time to measure your ceiling height and gather necessary tools, you can guarantee your fan is both functional and safe. Imagine enjoying a cool breeze on a hot day, all while knowing you did it yourself. Don't let the height intimidate you; your skills can shine with careful preparation and execution!
You might also like